How to lay vinyl flooring
Tools needed to fit your vinyl flooring
- A sharp utility knife or preferable a hooked blade
- A hair-dryer
- A soft brush
- Pencil
- A long metal ruler or straight edge
- A damp cloth
- A tape measure
- Suitable seam bond (if there are joints)
- A roller (50kg plus)
In case of glue down installation:
- An adhesive trowel (type A-1 or A-2)
- Optional: cold welding liquid Type T
- Vinyl flooring glue
In case of loose lay installation:
- Degreaser
- Double sided perimeter adhesive

Preparing your subfloor for vinyl flooring
Firstly: vinyl rolls can be placed on almost every type of flooring. All you have to do, is make sure they are absolutely level, dry, clean and free from grit, dust, grease, oil, polish & old adhesive.
Vinyl flooring (from Beauflor, at least), is suitable for underfloor heating and cooling. Make sure your heating system has an automatic cut-off at 27°C so color changes can't occur. For cooling, the temperature of the cooling water supply can’t be below 18°C. Your system has to be switched off 2 days before and after the installation and then raised gradually (5°C per day).
Now let's go over how you prepare different types of subfloors:
• Concrete floors: If the surface is uneven, rough or cracked, use a levelling compound (about 3-6mm). Also test your floor for alkalinity (a PH between 5 and 9 is needed).
• Floor boarded timber floors: Make sure all loose floorboards are secured and all loose nails are hammered down. After that, cover the floorboards with plywood panels of 3-6mm thick and secure them. If there is a solid base under your wooden floor, remove the wood and treat your subfloor as a concrete floor.
• Quarry or ceramic tiles: Follow the same steps as with a concrete floor, but remove any loose or broken tiles. After that, you can install vinyl directly on the ceramic tiles if the joints are 1mm deep and 2mm wide. For security, check if the subfloor underneath the ceramic tiles has a damp-proof membrane.
• Existing smooth flooring: cushioned vinyl, linoleum or cork flooring must be removed before placing a new vinyl floor.
• Hard flooring (like PVC Composite tiles): this type of floor can be left in place. Remove all polish from the tiles and rinse with clean water. Just like with ceramic tiles, damaged or loose tiles need to be removed. Finally, cover the floor with a minimum of 6mm leveling compound.
• OSB Plates: Secure loose floorboards with nails or screws and hammer loose nails down. Do not lay the floor directly on timber treated with wood preservative.
After the subfloor preparation is done, carefully remove all dirt from the subfloor with a vacuum cleaner, broom or brush.
How to lay vinyl flooring
Alright, preparations are in order, now it's time to fit your vinyl floor into your room! You can choose: watch our video on the installation process or read our step by step manual below the video. The fun thing is: vinyl sheets give you different installation options. You can either choose to loose lay your floor with perimeter adhesive, or to glue down your floor. And luckily, we have video instructions for both!
Over to the step by step manual!
1. Adjusting your vinyl floor to the room
It is best to lay out your cushioned floor 48 hours before you start laying it. This should be done in a dry room between 18°C and 29°C and away from direct sunlight.
Sheets of two meter wide floor covering should be rolled loosely and stored upright. Sheets of four meter wide should be cut to size and laid flat for acclimation.

2. Laying direction
Ideally, you want your vinyl floor to complement the interior of your room. When using multiple rolls, you don't want your seams near doorways or parts of the room with a lot of traffic.
In large, well-lit rooms, your vinyl sheets should run parallel to the incoming light. In long narrow rooms, sheets can be installed along the length of the room. In square rooms, it's best to lay the rolls parallel to the entrance light.

3. Pre-cutting
24 hours before installation, it is recommended to pre-cut your vinyl roll. Measure your room (add 5cm to each dimension), roll the material face out and cut away the excess roll.
If more than one piece of roll is used, make sure the pattern of your vinyl roll matches when laying it out. Top tip: make sure both rolls come from the same batch, so there are no color differences. Did you know Beauflor has vinyl rolls of up to 5 meters wide? Easy, right?
Be sure you know how you want to lay out your floor before you cut it. A different way of working is cap & cove, where you lay your floor to come up to the skirting on the wall. A guide on how to install your vinyl flooring this way, can be found here.

4a. Fitting your floor (one vinyl roll)
-
After cutting your floor, you line up the vinyl piece to your starting wall. Let the 5cm over-cut run up the wall, ensuring that the patterns runs parallel to the wall.
-
Cut the floor in gradually. Several small trimming cuts are better than attempting one cut. Always hold your utility knife straight to the floor for a straight cut finish.
-
For internal corners, you make small diagonal cuts across the material's corner very gradually until the material fits neatly into the corner.
-
For external corners, you press the vinyl down firmly into the joint between the floor and the wall. Cut down the material, following the corner and trim flat to the floor. it can be helpful to gently warm the floor with a domestic hair dryer to make it more flexible.
-
If you have pipes or other irregular fittings, push the material into the joint between the floor and the fitting and cut down almost to the floor. A small cross-cut will then stop the material tearing. Gently push the material down around the pipe by cutting down to the floor at all pressure points and cutting flat to the floor.
-
If done well, your vinyl sheet lies flat around the fittings and corners. Now the final cutting along the wall lengths can be done. Press the vinyl into the joint between the wall and floor with a straight edge and cut off small strips at a time. Gradually work the material down and keep the blade of your utility knife vertically and tight against the skirting board.
-
Avoid trimming in too tightly as this will prevent the material lying flat (around 2-3mm). Your vinyl floor should be able to move a little bit. You do this because temperature can make your room expand or contract.
-
Release trapped air by sweeping with a soft broom.
4b. Fitting your floor (multiple vinyl rolls)
The instructions to fit your vinyl floor are the same as when you use one roll. Nevertheless, you need to look out for these things:
-
Length cutting: When pre-cutting the vinyl sheet, you add an amount equal to one pattern of the design + 5cm as margin. You can check the size of the pattern on the product sheet of your vinyl design on our website.
-
Pattern matching: For the best visual result, cut in the joints for tile & wood designs. As said before: different rolls need to come from the same mother roll. For plank and tile designs, we recommend every sheet to be placed in the same direction. For all-over designs, we recommend to rotate the direction of each sheet 180°.
-
Pattern matching for 2m rolls: When installing 2m rolls, check the back of the rolls and look for the arrows on one side. Place the arrows next to each other and place the sides without the arrows next to each other.
-
Fitting the pieces: Start laying down the largest piece, followed by the next largest. Let the pieces overlap by 35-50mm, ensuring that the pattern matches

5. Attach vinyl to subfloor
-
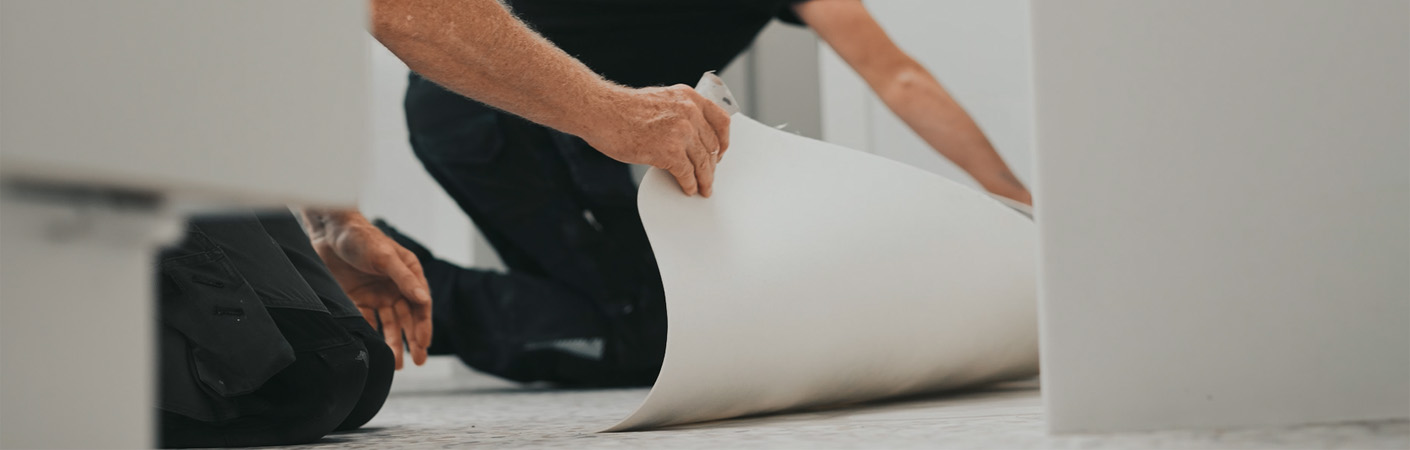
After fitting, turn back the flooring to expose about half of your subfloor.
-
Apply your adhesive to the entire surface of the subfloor. if you are using glue-down, this is done over the entire floor, if you are loose-laying your vinyl floor, this is done at the edges of the room.
-
Allow the recommended drying time.
-
Place the vinyl flooring back onto the subfloor carefully without trapping air bubbles.
-
Do the same with all other parts of the floor.
-
Roll the flooring with a 50kg flooring roller to push out any trapped air bubbles.
To attach multiple rolls next to each other, you follow the same instructions, but at the seam, you follow these instructions:
-
Place your steel rule so that the guiding edge lies over both edges of the overlapping material.
-
Cut through both sheets, keeping the knife as vertical as possible. This will require gradual cutting.
-
After applying adhesive to both sheets, you wait 24 hours, after which you can choose between cold and hot welding. If you want to learn more about hot welding, this video here will guide you through it: Information about these techniques can be found on page 20 to 23 of our installation manual, which you can download below.
Download the commercial installation manual

After the installation
After laying your vinyl floor, let it rest for 1 to 3 days. Keep furniture out of the room and keep traffic to a minimum. When moving heavy furniture, always protect your floor.
For the first 72 hours, avoid contact with water and heat.
